Well, a lot of our family and nearby friends have heard our excitement over our little coffee table. And we're more than excited to share it with everyone else.
Searching for new furniture when you are on an extremely tight budget can be hard and totally time consuming. Especially, when your taste has more to do with designer and less to do with Walmart. Enter... driving to every second-hand furniture store on an seemingly endless search until you find it. And I will not take the credit, as my loving husband will not let me... it's truly, until your husband finds it. Because, honestly, I walked right by it and as I was walking by, I said to him, "There is nothing here..."
Our timing could not have been better, because a man who walked in behind us was so disappointed to find us paying the hefty price of $10. He said to us, "Do you know how lucky to find this? With all the pieces? You don't know what you have..." And to two 24-year olds, we thought, oh wow, we must be lucky! Especially, when we took it to Home Depot and the paint/wood lady gawked over and ogled our find.
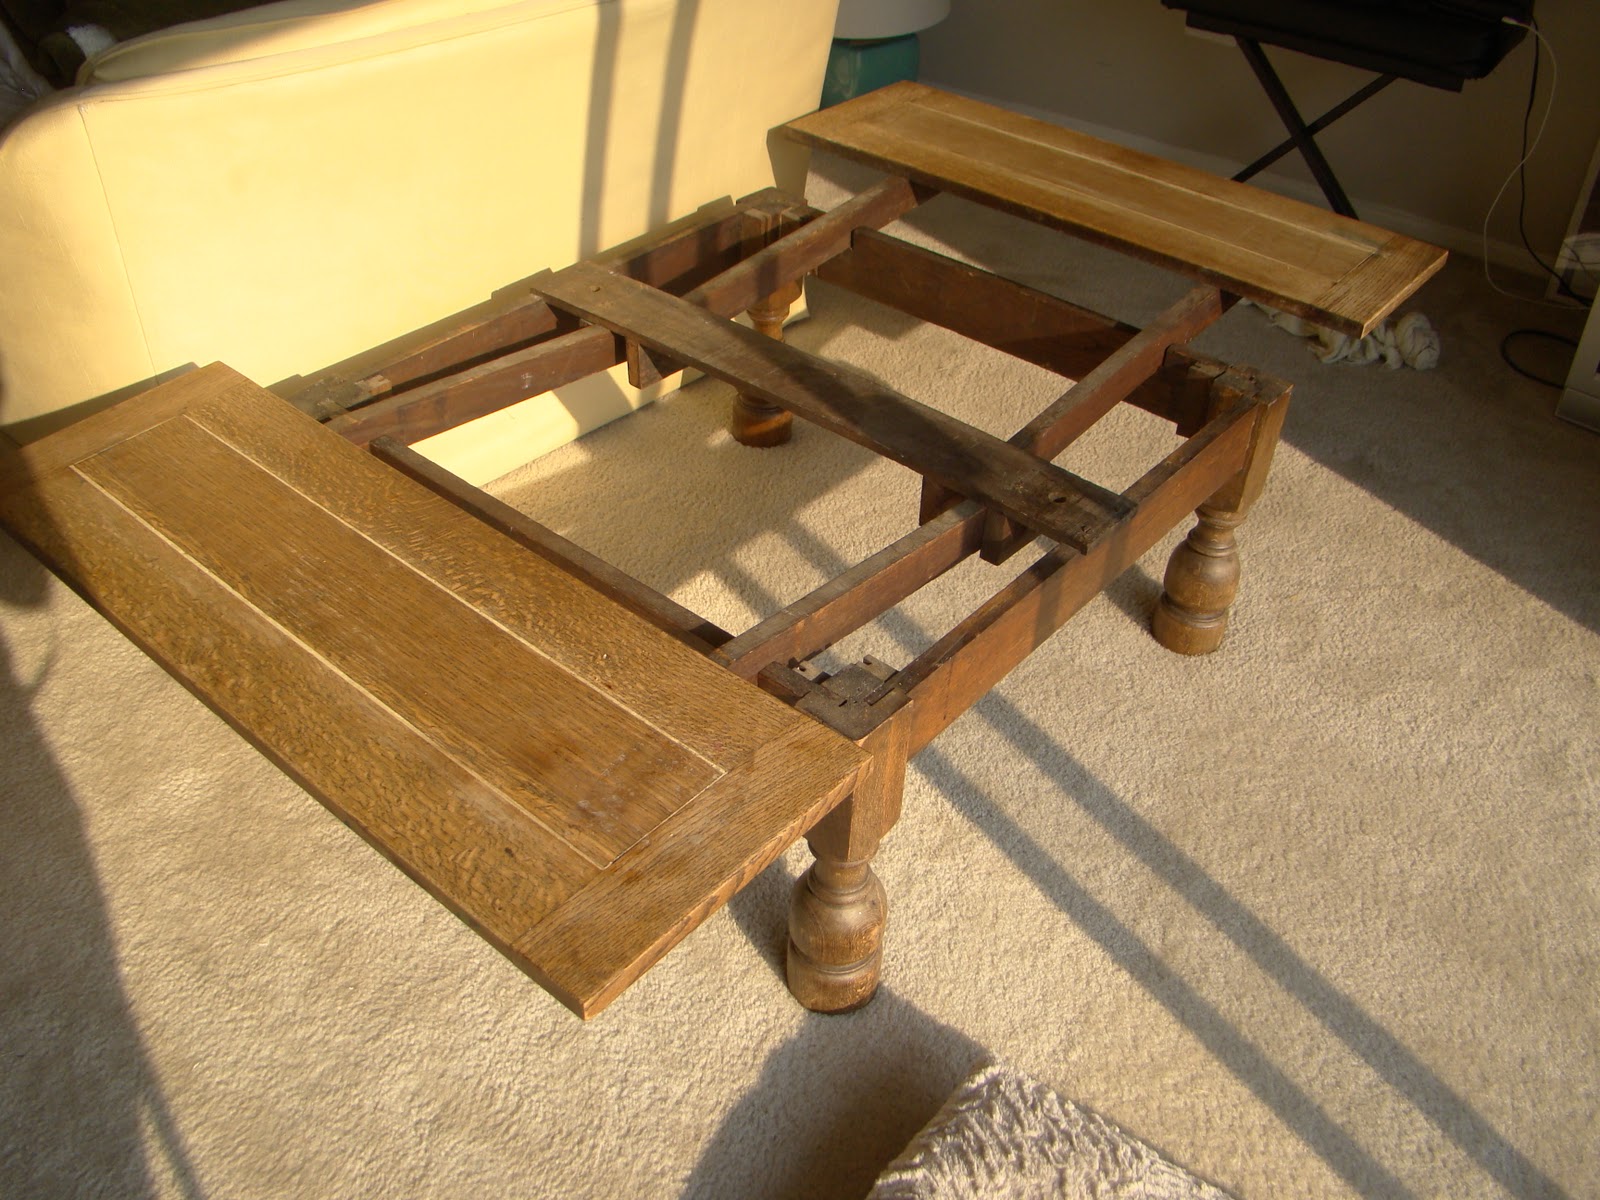
What did we find, you wonder? A pre-WWII solid oak, paneled, "card" table with detachable wings/leaves. May the pictures speak for themselves. I'll add some instructions on how to get from point A to Z if you every find something similar or want to do something similar! (P.S. If any of you know what exactly this thing is called, we would love as much info as we can get.)
Stay tuned for the finalized picture, along with the other little DIY projects we've been doing! In the meantime, we love our table and hope you do, too!
 |
| Unfortunately, all of the pieces of the center were falling apart by the time we got it home. We do not have a "before picture" of the whole thing. |
 |
| This is how the "wings" come out. |
 |
| The first step was to strip the wood. We used a soy based, biodegradable stripper from Woodcraft. |
 |
| Here is all of the wood, it needed to lay out for a few hours covered in the stripper. |
 |
| We used water, scrub pads, and paint scrapers to get the stripper off. |
 |
| After letting it dry outside for a while, we moved it in to finish drying. This is the original oak! |
 |
| Our first piece of dyed wood (see the last picture for info on how we dyed it). |
 |
| Jordan had to work really hard to get into all of the grooves on the base. |
 |
| Top and base, all finished! |
 |
| These are the things you need to dye wood. You over saturate the wood with an old t-shirt dipped in stain, then wipe off the excess with a paper towel. Yes, it is that easy. We do not have a picture of the finish we used. It is the same brand as the dye, but a water-based polyacrylic. We put 7 coats (same method as dye) on the table top and 4 coats on the base. | | | |
|
|
|